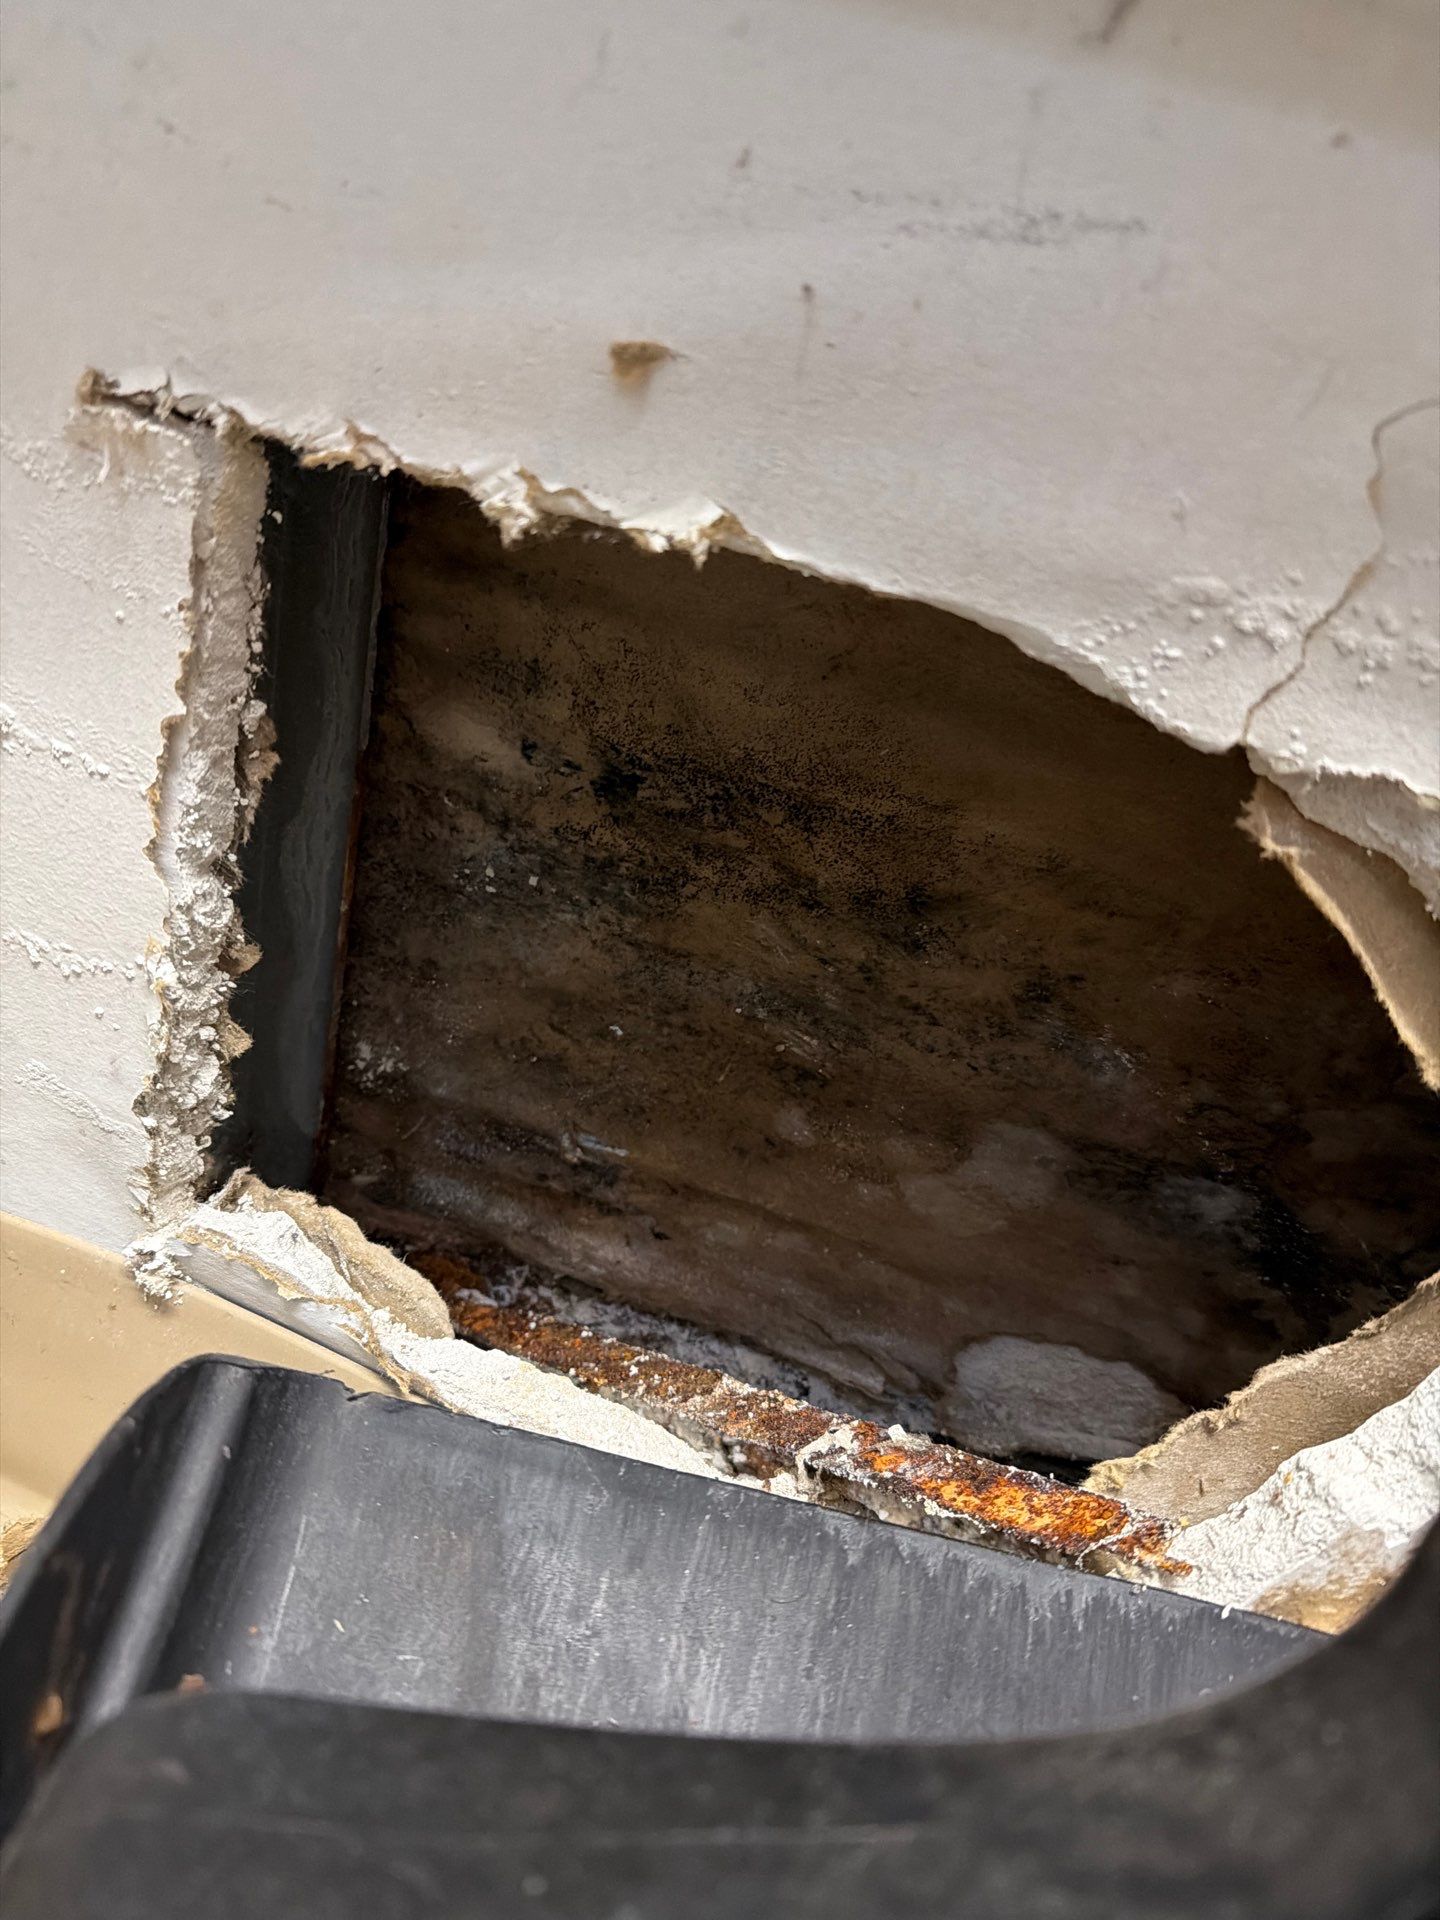
Step 1: Pre-Remediation Site Preparation
- Close all exterior doors and windows for a minimum of 2 hours before sampling.
- Turn off HVAC systems 10 to 15 minutes before pump start to settle air movement.
- Remove portable air purifiers, dehumidifiers, and fans from the sampling rooms.
- Avoid vacuuming, sweeping, or disturbing surfaces for 24 hours prior.
- Document temperature (target 65 to 78 F) and relative humidity (target 30 to 60 percent).
- Note recent weather conditions (rain within 48 hours can elevate outdoor spore counts).
- Restrict foot traffic in the sample area for 1 hour before the pump starts.
Step 2: Selecting Sample Locations
- One outdoor control sample, taken upwind, away from vents and standing vegetation.
- One indoor sample in the visibly affected area (the suspected source room).
- One indoor sample in an adjacent, non affected room for comparison.
- For homes over 2,500 sq ft, add one sample per additional 1,000 sq ft of impacted space.
- Record exact GPS or floor plan coordinates for every cassette location.
- Avoid placing cassettes within 3 feet of exterior doors, return grilles, or open windows.
- For multi story Bellwood homes, treat each floor as a separate sampling zone.
Step 9: Documentation and Release
- Lab report with pre and post counts side by side.
- Photographic log of containment, removal, and final state.
- Moisture maps with dated readings.
- Written clearance letter signed by the independent assessor.
- Calibration certificates for pumps, manometers, and moisture meters used on the job.
- Copy retained for warranty, real estate disclosure, and insurance per the water damage insurance claim process.
Step 3: Pre-Remediation Air Sampling Procedure
- Calibrate the air pump to 15 liters per minute using a primary flow standard.
- Attach a new Air-O-Cell or equivalent spore trap cassette at each location.
- Position the cassette 3 to 5 feet above the floor, simulating breathing zone.
- Run each pump for exactly 5 minutes, yielding a 75 liter sample volume.
- Cap cassettes immediately, label with location, time, and chain of custody number.
- Ship samples to an AIHA-accredited lab within 24 hours via overnight courier.
Lab turnaround is typically 48 to 72 hours for standard service, with 24 hour rush available at roughly double the unit cost. Results return as raw spore counts per cubic meter and are broken down by genera such as Aspergillus/Penicillium, Cladosporium, Stachybotrys, and basidiospores. We compare these to the outdoor control and to the 48 hour mold growth timeline when correlating findings with recent water events. When a Bellwood Water Restoration crew is dispatched to a confirmed amplification site, the response window is within 2 hours so containment can be established before further spore migration occurs.
Step 5: Remediation Work Under Containment
- Build 6-mil polyethylene containment with zipper entry and decon chamber.
- Establish negative air pressure at minimum 0.02 inches water column differential.
- Run HEPA-filtered AFDs at 4 to 6 air changes per hour inside containment.
- Remove affected porous materials per S520 Condition 2 and Condition 3 protocols.
- HEPA vacuum and damp wipe all surfaces with appropriate antimicrobial.
- Allow 24 hours of continued AFD operation before clearance testing.
Containment integrity is non negotiable. If negative pressure fails, spore counts during clearance testing will exceed outdoor baselines and the job restarts. This is why the commercial mold remediation protocols we use on larger structures mirror the same containment discipline applied to single room residential jobs. Manometers are placed at the containment wall and logged every 4 hours, with alarms set to trigger if pressure drops below 0.015 inches water column. Critical barriers (over electrical outlets, HVAC penetrations, and door frames) are sealed with tape rated for at least 72 hours of continuous contact.
Step 6: Post-Remediation Verification (PRV) Inspection
- Visual inspection: no visible mold, dust, or debris on any surface inside containment.
- Moisture check: all materials at or below 16 percent moisture content for wood, 1 percent for drywall.
- Odor check: no musty or earthy odor present.
- Containment still intact with HEPA filtration running.
- Document with photographs of every wall, floor, and ceiling section.
- Verify all building materials within 5 feet of the source have been cleaned or removed.
- Confirm an independent third party assessor, not the remediation contractor, conducts the PRV.
Step 11: Homeowner Handoff
- Walk the Bellwood homeowner through every page of the clearance report.
- Provide a 1 year workmanship warranty signed by Bellwood Water Restoration on the remediated areas.
- Recommend a 30 day follow up humidity check using a basic hygrometer (target below 55 percent).
- Advise on HVAC filter upgrades to MERV 11 or higher to reduce future spore loading.
- Schedule an optional 6 month verification sample for high risk basements or crawl spaces.
Step 10: If Clearance Fails
- Identify the failure mode: containment breach, missed source, or premature sampling.
- Re establish containment and HEPA filtration for an additional 24 to 48 hours.
- Re clean all surfaces, focusing on horizontal dust catchers and HVAC supply registers.
- Inspect wall cavities with a borescope if hidden growth is suspected behind cleaned surfaces.
- Replace HEPA pre filters on AFDs if loading exceeds 80 percent of capacity.
- Re sample at no additional cost when the failure traces to remediation execution.
- Release containment only after a passing clearance report is in hand.
Step 8: Clearance Criteria
- Total indoor spore counts must be equal to or lower than outdoor control.
- Indoor genera profile must mirror the outdoor profile (no amplification).
- No detectable Stachybotrys, Chaetomium, or Fusarium indoors.
- Aspergillus/Penicillium counts below 500 spores/m3 in cleared spaces.
- Visual and moisture criteria from Step 6 all passed.
- Surface tape lifts (if collected) show fewer than 25 spores per square centimeter.
Step 7: Post-Remediation Air Sampling
- Wait at least 24 hours after final cleaning and antimicrobial application.
- Run AFDs continuously up to the moment of sampling.
- Use the same cassette type, pump rate (15 LPM), and 5 minute duration as the pre test.
- Sample the same locations as the pre remediation test for direct comparison.
- Collect a fresh outdoor control on the same day, within 1 hour of indoor samples.
- Maintain chain of custody to the same AIHA-accredited laboratory.
- Conduct aggressive sampling (tap walls, lift carpet edges) only when specified in the work scope.
Step 4: Interpreting Pre-Remediation Results
- Indoor counts higher than outdoor counts in the same genera indicate amplification.
- Presence of Stachybotrys, Chaetomium, or Fusarium indoors at any level is a flag, since these are water marker fungi.
- Aspergillus/Penicillium counts above 1,000 spores/m3 typically warrant remediation.
- Total spore counts above 1,500 spores/m3 indoors with low outdoor counts suggest hidden growth.
- Genera ratios that differ from outdoor profiles confirm an interior source.
- Hyphal fragment counts above 50 per cubic meter indicate active disturbance or recent growth.
- Basidiospores dominating an indoor sample point to wood decay rather than typical surface mold.